[PR]上記の広告は3ヶ月以上新規記事投稿のないブログに表示されています。新しい記事を書く事で広告が消えます。
ThinkPadの管理ツールとしてLenovo Vantageがある。
現在、Lenovo VantageはMicrosoft Storeで提供されている。
ThinkPadにWindows 10 Enterprise LTSC(旧LTSB)を導入している環境へのLenovo VantageはMicrosoft Storeを利用できないLTSCでも以下手順で導入が可能。
※ただしX220の場合、バッテリーやFnキーのホットキー統合機能のドライバはLenovo Vantageでは提供されていないことに注意。
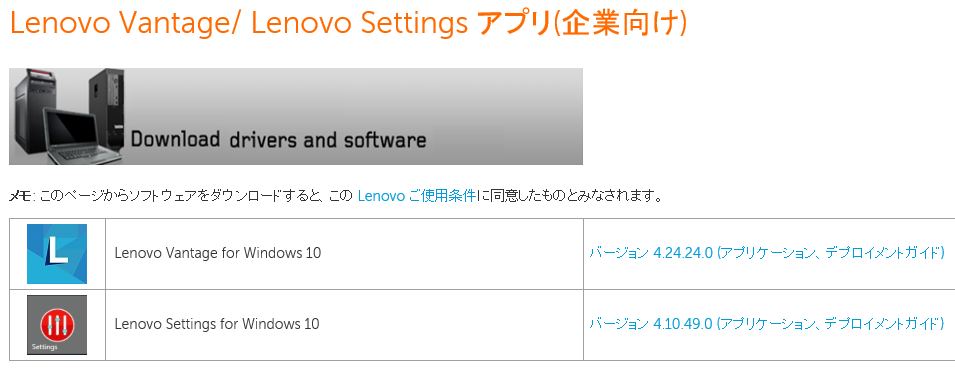
1.lenovo.comより企業向けのLenovo Vantageをダウンロードする。
Lenovo Vantage/ Lenovo Settings アプリ(企業向け)
https://support.lenovo.com/jp/ja/solutions/hf003321

2.ダウンロードしたLenovo Vantageをzip解凍する。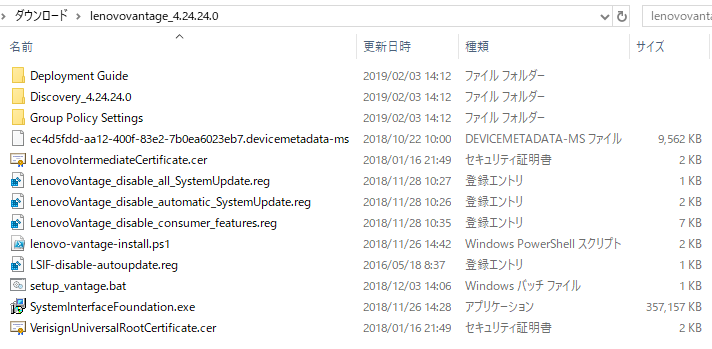
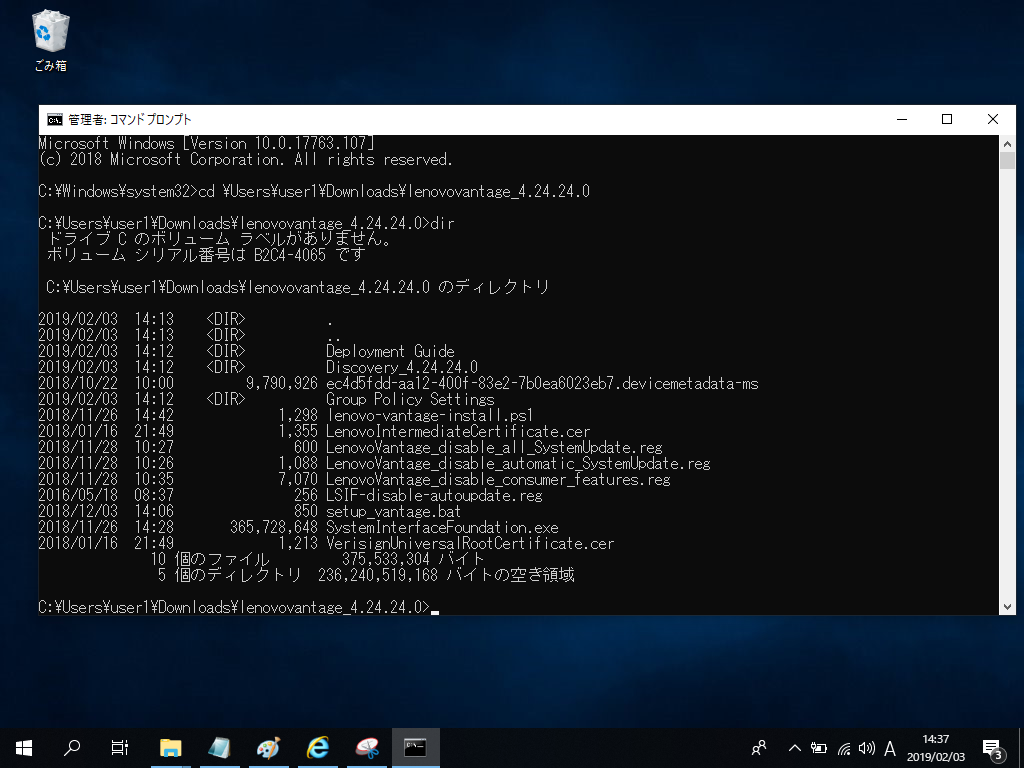
3.管理者権限でコマンドプロンプト(cmd.exe)を起動
4.解凍したディレクトリに移動、setup_vantage.batファイルを実行する。バッチファイルが終了するまで数分程度待つ。
バッチファイルが終了すると「rem MUST REBOOT TO COMPLETE THE INSTALLATION」と表示されるため、shutdown /r /t 0コマンドで再起動する。
Microsoft Windows [Version 10.0.17763.107]
(c) 2018 Microsoft Corporation. All rights reserved.
C:\Windows\system32>cd \Users\user1\Downloads\lenovovantage_4.24.24.0
C:\Users\user1\Downloads\lenovovantage_4.24.24.0>dir
ドライブ C のボリューム ラベルがありません。
ボリューム シリアル番号は B2C4-4065 です
C:\Users\user1\Downloads\lenovovantage_4.24.24.0 のディレクトリ
2019/02/03 14:13 <DIR> .
2019/02/03 14:13 <DIR> ..
2019/02/03 14:12 <DIR> Deployment Guide
2019/02/03 14:12 <DIR> Discovery_4.24.24.0
2018/10/22 10:00 9,790,926 ec4d5fdd-aa12-400f-83e2-7b0ea6023eb7.devicemetadata-ms
2019/02/03 14:12 <DIR> Group Policy Settings
2018/11/26 14:42 1,298 lenovo-vantage-install.ps1
2018/01/16 21:49 1,355 LenovoIntermediateCertificate.cer
2018/11/28 10:27 600 LenovoVantage_disable_all_SystemUpdate.reg
2018/11/28 10:26 1,088 LenovoVantage_disable_automatic_SystemUpdate.reg
2018/11/28 10:35 7,070 LenovoVantage_disable_consumer_features.reg
2016/05/18 08:37 256 LSIF-disable-autoupdate.reg
2018/12/03 14:06 850 setup_vantage.bat
2018/11/26 14:28 365,728,648 SystemInterfaceFoundation.exe
2018/01/16 21:49 1,213 VerisignUniversalRootCertificate.cer
10 個のファイル 375,533,304 バイト
5 個のディレクトリ 236,240,519,168 バイトの空き領域
C:\Users\user1\Downloads\lenovovantage_4.24.24.0>setup_vantage.bat
C:\Users\user1\Downloads\lenovovantage_4.24.24.0>rem INSTALL CERTIFICATES
C:\Users\user1\Downloads\lenovovantage_4.24.24.0>certutil.exe -addstore "CA" LenovoIntermediateCertificate.cer
CA "中間証明機関"
証明書 "Symantec Class 3 SHA256 Code Signing CA - G2" がストアに追加されました。
CertUtil: -addstore コマンドは正常に完了しました。
C:\Users\user1\Downloads\lenovovantage_4.24.24.0>certutil.exe -addstore "Root" VerisignUniversalRootCertificate.cer
Root "信頼されたルート証明機関"
署名は公開キーと一致します
証明書 "VeriSign Universal Root Certification Authority" がストアに追加されました。
CertUtil: -addstore コマンドは正常に完了しました。
C:\Users\user1\Downloads\lenovovantage_4.24.24.0>rem SET POLICIES (OPTIONAL - SEE DEPLOYMENT GUIDE)
C:\Users\user1\Downloads\lenovovantage_4.24.24.0>rem regedit /s LenovoVantage_disable_consumer_features.reg
C:\Users\user1\Downloads\lenovovantage_4.24.24.0>rem regedit /s LenovoVantage_disable_automatic_SystemUpdate.reg
C:\Users\user1\Downloads\lenovovantage_4.24.24.0>rem regedit /s LenovoVantage_disable_all_SystemUpdate.reg
C:\Users\user1\Downloads\lenovovantage_4.24.24.0>rem INSTALL THE APPLICATION - LENOVO VANTAGE
C:\Users\user1\Downloads\lenovovantage_4.24.24.0>powershell -command unblock-file lenovo-vantage-install.ps1
C:\Users\user1\Downloads\lenovovantage_4.24.24.0>powershell -executionpolicy bypass -file lenovo-vantage-install.ps1
Add-AppxProvisionedPackage -Online -PackagePath .\Discovery_4.24.24.0\edbe51fb87bb441bbbeab6c29ead2032.appxbundle -LicensePath .\Discovery_4.24.24.0\edbe51fb87bb441bbbeab6c29ead2032_License1.xml -DependencyPackagePath .\Discovery_4.24.24.0\Microsoft.NET.Native.Framework.1.7_1.7.25531.0_x86__8wekyb3d8bbwe.appx,.\Discovery_4.24.24.0\Microsoft.NET.Native.Runtime.1.7_1.7.25531.0_x86__8wekyb3d8bbwe.appx,.\Discovery_4.24.24.0\Microsoft.VCLibs.140.00_14.0.26706.0_x86__8wekyb3d8bbwe.appx,.\Discovery_4.24.24.0\Microsoft.Services.Store.Engagement_10.0.18101.0_x86__8wekyb3d8bbwe.appx
Path :
Online : True
RestartNeeded : False
C:\Users\user1\Downloads\lenovovantage_4.24.24.0>rem INSTALL LSIF (latest version can always be downloaded from https://filedownload.lenovo.com/enm/sift/core/SystemInterfaceFoundation.exe)
C:\Users\user1\Downloads\lenovovantage_4.24.24.0>SystemInterfaceFoundation.exe /verysilent /NORESTART /type=installpackageswithreboot
C:\Users\user1\Downloads\lenovovantage_4.24.24.0>rem MUST REBOOT TO COMPLETE THE INSTALLATION
C:\Users\user1\Downloads\lenovovantage_4.24.24.0>shutdown /r /t 0
5.再起動するとLenovo Vantageがインストールされているため、起動してパッチをダウンロード、適用する。